Configuring ZPL labels
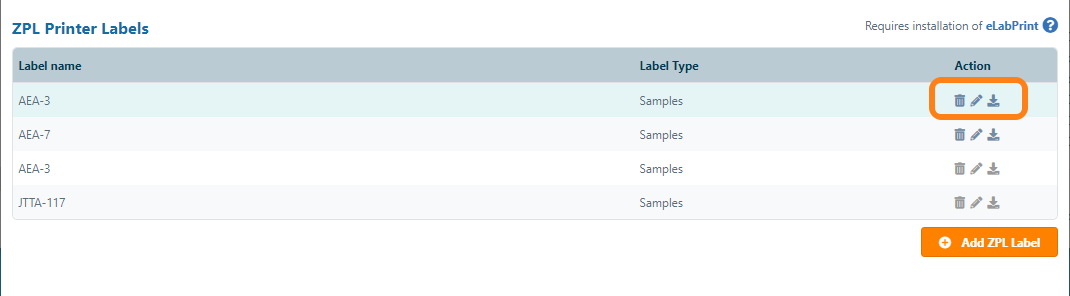
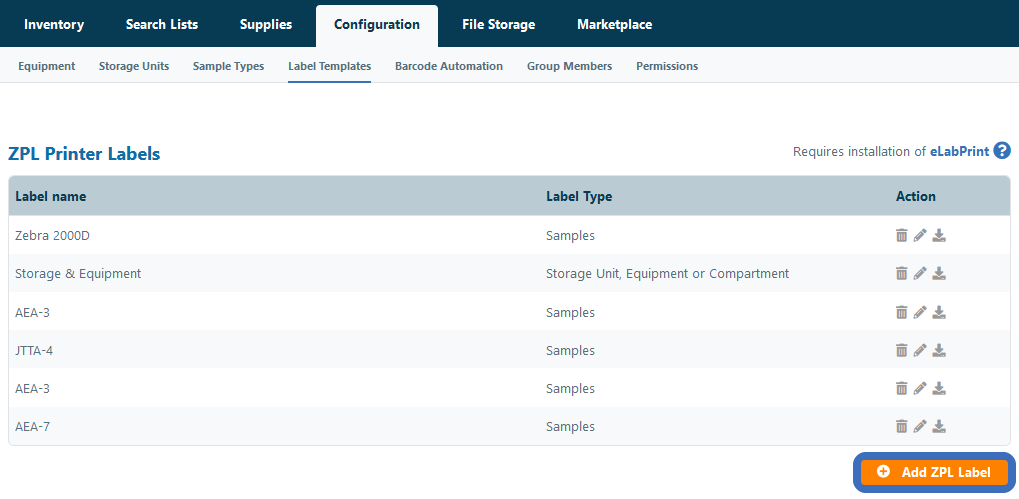
To print labels using a Zebra© Label Writer, you should first configure a so-called ZPL (Zebra Programming Language) label template. Open Print Label Templates in the Configuration menu and click Add ZPL Label. Note that you should first follow the ZPL label printer installation instructions and activate the ZPL label print option in eLabInventory to configure a ZPL label. When creating labels, separate label templates should be created for samples, sample series, and storage units, equipment or compartments.
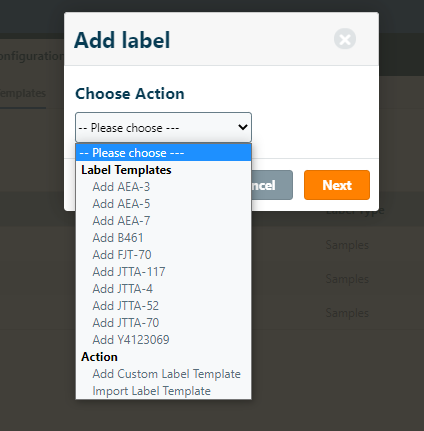
In the next step, you can choose to add one of the default templates, add a custom template or import a template. The recommended option is to request a ZPL label template of the vendor of the labels you purchase or to create the label template in the software that is provided in the printer software. After you exported or received the formatted label template (.zpl file) you can upload the label template. When creating a custom label, you can also copy and paste label templates from one of the various free ZPL label template generators such as Labelary
After importing or creating a label, you can complete the label configuration in the ZPL Label Configurator and include the fields in eLabInventory. In the ZPL label configurator, a preview of the label is displayed in the label preview that is generated of the imported or chosen ZPL template. Here you can choose the following settings:
- Name - Name or description of the label template
- Template type - Sets the template type and defines if the created label template is used for or printing labels for samples, samples series, or storage units (compartments) and equipment
- Field Tokens - Supported fields for printing labels. (note that available field options are dependent on the chosen template type)
- Print mode - Setting that defines what happens when the print job is started (automatic will send the print job directly to the default printer, while the other settings force the appearance of the computer print dialogue)