Adding Storage Units
Important Notice - In June 2024, we released a new version of our Inventory system. Updated documentation for the Inventory is available in our new Support Portal. All documentation for the entire eLabNext platform will be fully migrated to the new Support Portal over the course of 2024. Start using the new Inventory documentation.
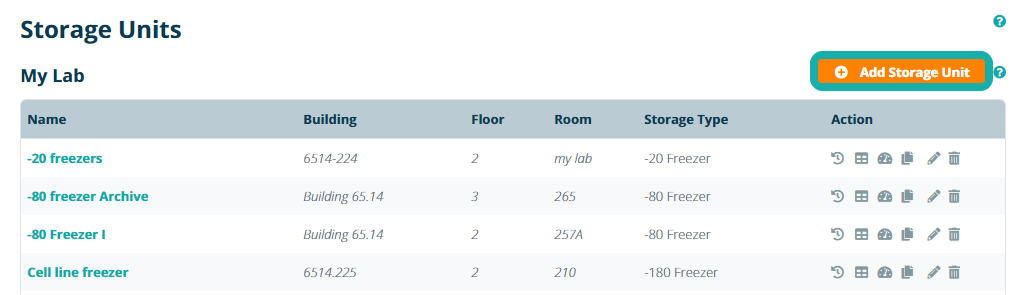
To add a storage unit to your lab, navigate to Storage Units under the Configuration tab and click the Add Storage Unit button.

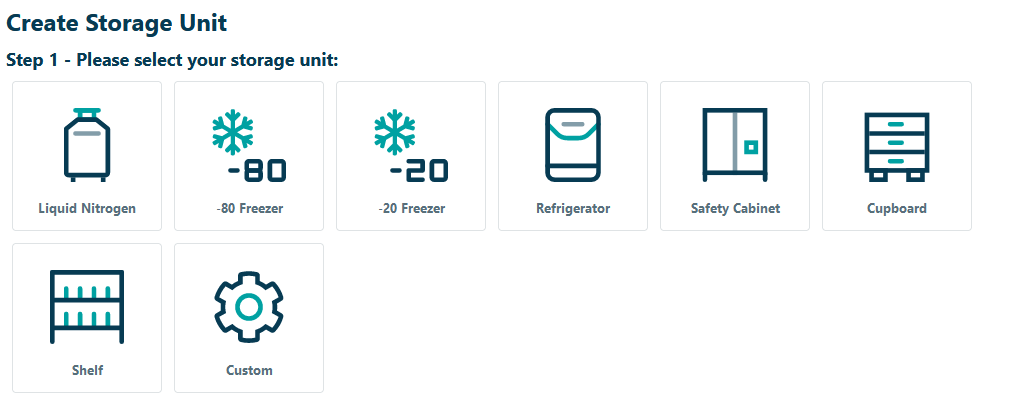
In Step 1 of the creation process, choose what type of storage unit you want to add by clicking the corresponding icon. Users can either select one of the predefined template - Liquid nitrogen, -80 Freezer, -20 Freezer, Refrigerator, Safety Cabinet, Cupboard, Shelf - or define a Custom storage unit.
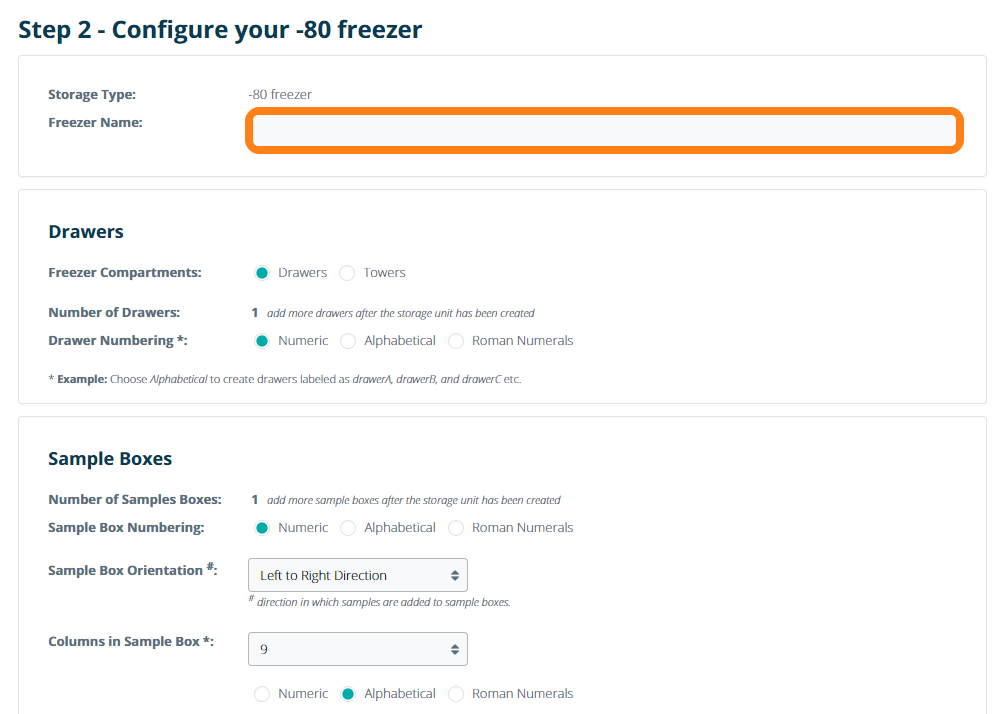
After selecting the desired storage type, you can continue configuring the storage unit in Step 2. Enter a Name and choose which compartments you want to add. For instance, a -80 freezer offers the option to add towers or drawers and choose the box dimensions. You can also set the compartment numbering setting, which is used to automatically number boxes when they are added to the freezer. Note: only one compartment is added to a storage unit during the configuration phase. Users can add additional compartments via the Inventory Browser once configuration is complete. Click Proceed to apply these settings.
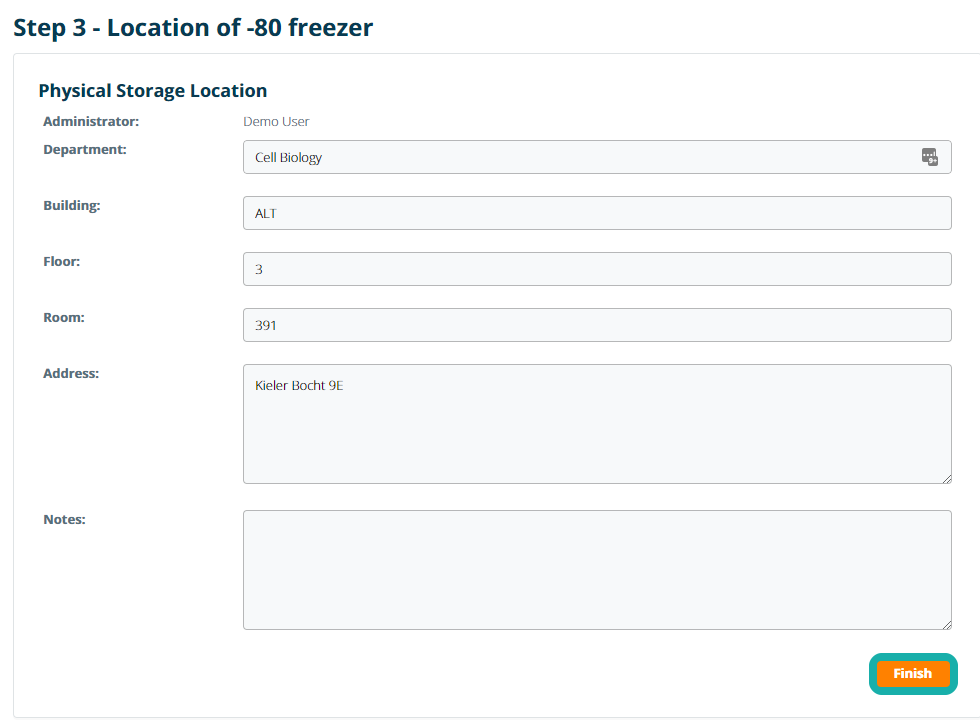
In Step 3, you can enter the physical location of the storage unit by defining the department, building, floor and room where it is located. Click Finish to complete configuration and create the storage unit.
Once the storage unit has been created, navigate to the Inventory Browser to finish setting up additional compartments and sample containers.