Configuring Labels
Disclaimer: DYMO add-on discontinuation
At the beginning of 2022, DYMO officially discontinued the LabelWriter 450 series of printers. Due to compatibility issues with the drivers and labels used by DYMO’s 550 series, eLabNext has been forced to discontinue future updates to the DYMO LabelWriter add-on in the Marketplace and will end support for label printing on DYMO-brand devices in 2023.
The current version of the DYMO LabelWriter add-on will remain available in the Marketplace for customers who have already installed it. While the add-on is still live, eLabNext will continue to provide support where possible for the existing features.
In the meantime, we strongly recommend that any labs using a DYMO printer consider transitioning to one of eLabNext’s other support printing solutions, such as the ZPL Printer or FLUICS Print add-ons.
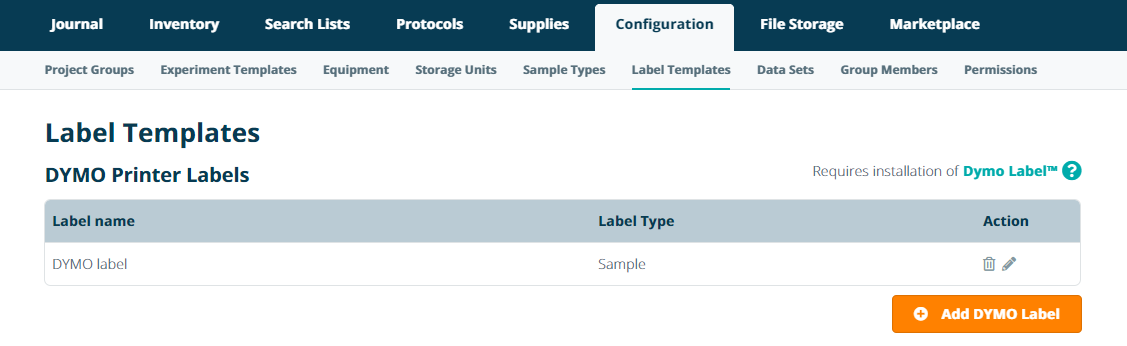
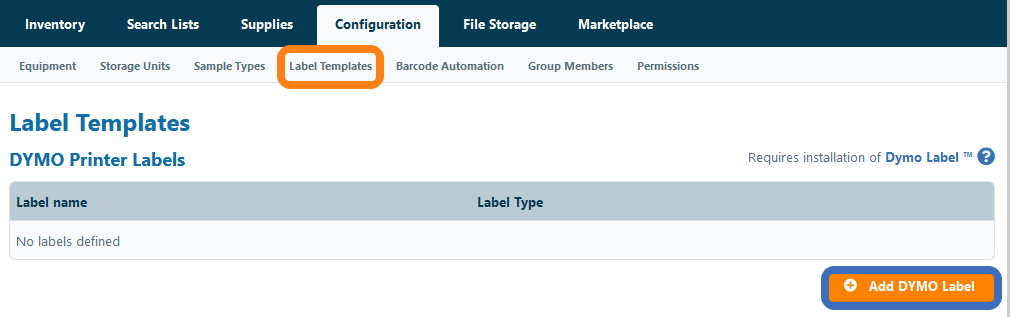
To print labels using a DYMO LabelWriter©, you should first configure the DYMO label template for printing samples, sample series, storage unit, equipment and compartment barcodes. Open Print Label Templates in the Configuration menu and click Add DYMO Label
In the first step of the DYMO label configuration define the following settings
- Label Name - name or description of the label
- Label Type - select to create a label for printing samples, samples series or for storage compartments and equipment (when printing a sample, only templates for the type sample will be available for printing)
- Label Template - the label template (templates of regular DYMO, and cryo and/or chemical resistant labels of LabTag and Diversified Biotech supported)
Click Next to proceed
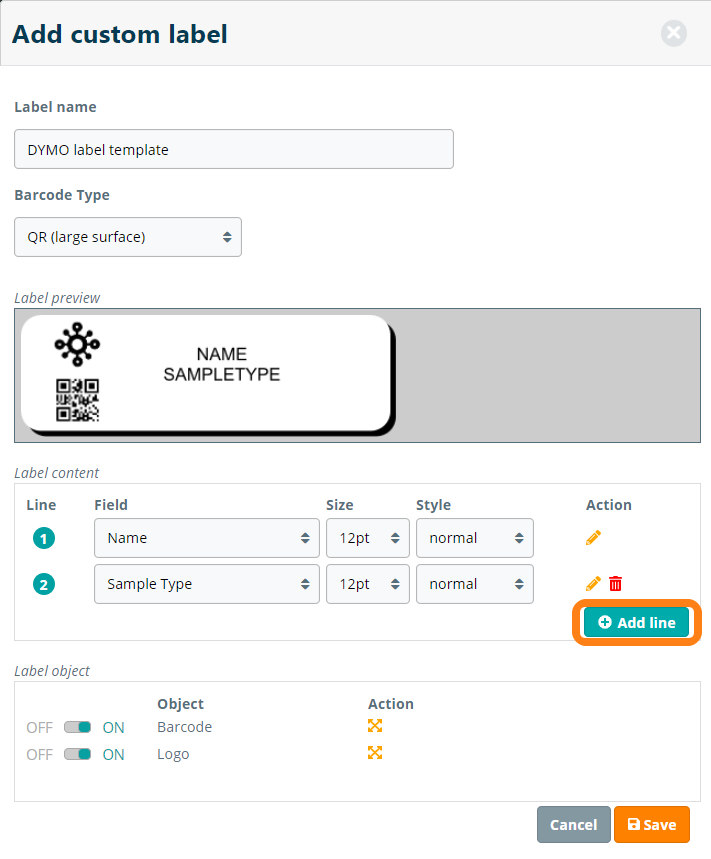
In this step, you can further configure the label template adding the lines to the label templates and selecting the barcode type. For printing barcodes on larger labels we recommend QR and for printing labels on smaller surfaces, we recommend DataMatrix as the Barcode Type.
Click Add line to define a new line in the label template.
The following fields are supported to be included when printing a label:
For printing labels for samples:
- Name - the sample name
- ID - the ID of the sample (same as the 2D barcode)
- Owner - The owner of the sample
- Description - the description of the sample
- Location - location where the sample is stored
- Sample Type - sample type of the sample
- Sample Specification Field - one of the custom fields created in the sample type
For printing labels for sample series:
- Name - the sample series name
- ID - the ID number of the sample series (same as the 2D barcode)
- Owner - The owner of the sample series
- Sample Type - the sample type of the sample series
For printing labels for storage units, compartments and equipment:
- Name - the sample series name
- ID - the ID number of the sample series (same as the number in generated 2D barcode)
- Location - location where the compartment is stored
You can further customize the following settings of the label template:
- Font size - font size of the printed on the label (6-24pt)
- Font style - font style of the printed text (normal, bold, italic, underlined)
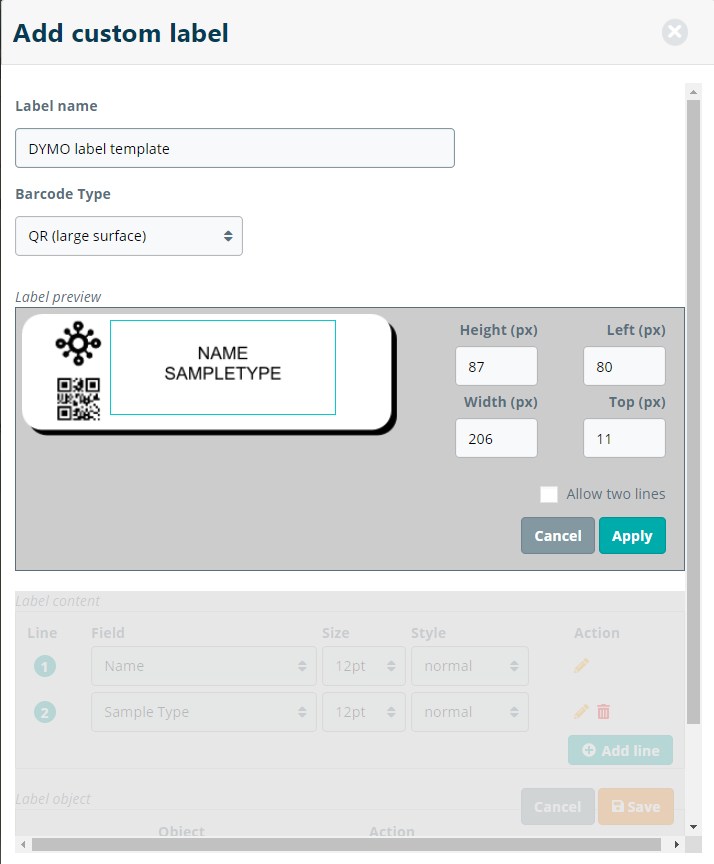
To change the following settings, you must edit the field and apply changes
- Height and Width - change the height and width of the area available for text on the label
- Alignment - change the position of the text on the label by changing the left and top margin of the printed text-box
- Allow 2 lines - divide the content of a field over two lines halfway of the content (to optimize printing of larger content)
Since the alignment of the label can be different between printers, you can also adjust the standard alignment of each element in the label. By changing the height, width and the left and top margins in a label, the label templates can be calibrated to print correctly from your printer. After saving the label, the label is created and added to the list of available label templates when printing a label. Here you can edit and delete the label templates. The created label templates are now available for printing labels of samples, samples series, compartments and equipment. Note that depending on each type, you should create separate templates.